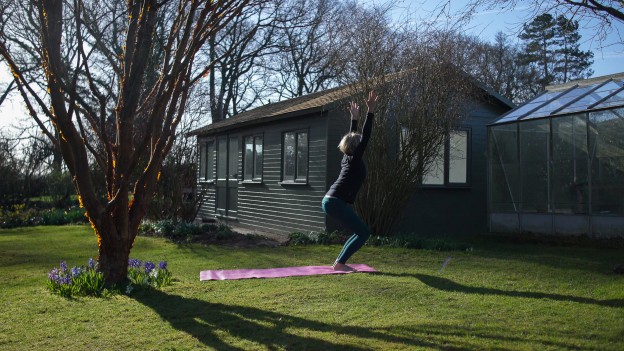
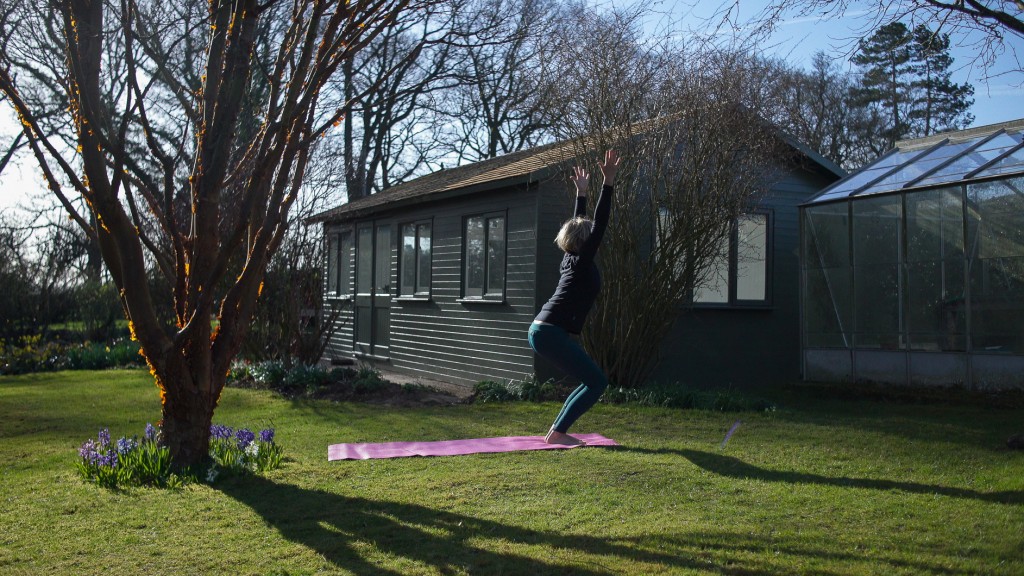
We caught up with Dr Yogi and quizzed him all about this week’s pose: Utkatasana or Chair Pose. Turns out that his students often have loads of questions about this particular posture too, and so might you! Have a look through our Q&A for the perfect chair!
Should I stick my bum out or tuck it under?
Good question! Before I answer this let’s have a quick anatomy lesson!
This movement of the pelvis occurs mainly at the sacro-iliac (SI) joint which moves in two directions; sticking your bum out tilts the sacrum forward and is called nutation, while lowering the tailbone and sacrum down is called counternutation.
Whether to nutate or counternutate depends on a few things. I teach Utkatasana with a neutral spine but some teachers look at this as a mini backbend.
Curving Under
If you are aiming for a neutral spine then you need to think about what your natural tendency here is. I have quite a lordotic lower back (exaggerated curve) and tend to naturally nutate at my SI joint. So I then focus on gently lowering my tailbone and sacrum in order to lengthen my lower back. (I personally never use the word tuck or scoop when it comes to the tailbone because this can lead to an over exaggerated movement).
Curving Out
If you naturally tilt your pelvis back into counternutation when you stand then you probably want to explore gently nutating your SI joint. If you want to explore moving into a gentle backbend in Utkatasana then by gently nutating you will be able to lengthen your spine more easily.
In terms of arm position is it better to have arms apart, hands in prayer, thumbs linked, or some other position? Is the aim to get arms vertical in the end?
Again there are loads of variations here depending on the teacher, the style of yoga and how open your shoulders are.
I actually teach Utkatasana with the arms in front of the body. I ask my students to imagine that they are squeezing something between their hands, draw their arm bones back into their sockets and then gently downwards. This is a great way to develop the strength of the rotator cuff muscles in the shoulder joint and therefore gain shoulder stability. This arm position also helps to keep the spine in neutral and allow the focus to go to the lower limbs.
If you taking your arms above your head, by keeping your arms in line with your torso you are able to engage the head of the arm bones into their sockets to create a sense of stability.
If your shoulders feel tight then take hands wider than shoulder distance apart. If your shoulders feel open and you can link your thumbs, this can help to create spaciousness across your chest and upper back as you draw your thumbs apart.
Does it make any difference if my feet are together or apart?
The position of the feet changes which muscle groups in the limbs we are focusing on.
When the feet are together the inner thigh muscles (Adductors) work hard to keep the inner knees touching.
When the feet are hip distance apart there is much more focus on the Rectus Femoris, which is the central Quadriceps muscle, as it flexes the hip. When the feet are hip distance apart the knees must track directly over the ankles to prevent any rotation of the knee joint.
Should I try and sink as low as possible?
The key here is to stay connected to your breath and keep your alignment! If your breath becomes laboured and your alignment starts to fall by the wayside then you have gone too far! You can work towards the thighs being parallel with the ground but as soon as you allow your hips go lower than your knees your hips flexors stop having to work so hard, so it’s kind of cheating 😉
What are the warning signs for knees?
You shouldn’t ever feel anything in your knee joint (or any joint for that matter) during your yoga practice. So any sensation should always be a sign for you to back off from what you are doing.
The key knee alignment principle in Utkasana is to keep your knees tracking directly over your ankles. If your knees roll out or in you are potentially straining your lateral and medial collateral ligaments respectively. You can try to keep all ten toes visible beyond your knees by shifting your weight into your heels and moving your bum back behind you more. This prevents us straining the posterior cruciate ligament in our knee joints.
>>Click Here to watch Dr Yogi’s Chair Pose Tutorial>>
 This post was written by Andrew McGonigle, a yoga teacher, massage therapist and anatomy teacher with a background in western medicine. Based in London, Andrew has been practicing yoga and meditation for 10 years and teaching since 2009. Teaching exclusively at triyoga, Andrew’s classes are open to all levels and encourage students to develop awareness of patterns of tension in their bodies with a goal to release stress. Andrew teaches anatomy and physiology on many different Yoga Teacher Training courses in London and internationally. Find Dr. Yogi on Facebook.


Really great article, thank you. I naturally nutate too – but didn’t know that word before! Excellent. I love learning more about alignment.