Let’s face it, this is a challenging pose and can take years of refinement and practice to be able to embody it fully. This week, our very own Dr Yogi shares his alignment tips to help you get this pose working for you.

Chatur-wronga
Chaturanga Dandasana, Four-Limbed Staff Pose, is a regular feature in many dynamic yoga practices but is one of the yoga asanas that is most often practised incorrectly.
It forms part of the classic Sun Salutation and is seen by many students as a transition from Plank to Upward Facing Dog and not as an asana in its own right.
Practising the full expression of Chaturanga requires a lot of strength in our arms, openness across our chest and well-developed core strength.
So what’s the big issue?
The first common mistake made by many students is to lower to a position where the elbows are higher than the shoulder joint. In a weight-bearing position, this can put a lot of strain on the front of the shoulder, particularly the long head of the Biceps brachii.
The pose is often rushed and not practiced in a controlled way which can only make matters worse.
The second common mistake is that many students allow their elbows to flare wide to the side as they lower.
This action is internal rotation of the shoulder joint and may lead to “shoulder impingement”.
We’ll look at this in more detail in a moment but this also helps to explain why the common variation “knees-chest-chin” isn’t often helpful.
It is nearly impossible to lower your knees, then chest and then chin without your elbows flaring and this variation isn’t helping to build strength in the muscles that will eventually allow you to practice the full expression of Chaturanga.
Here are my 5 top tips for practising Chaturanga:
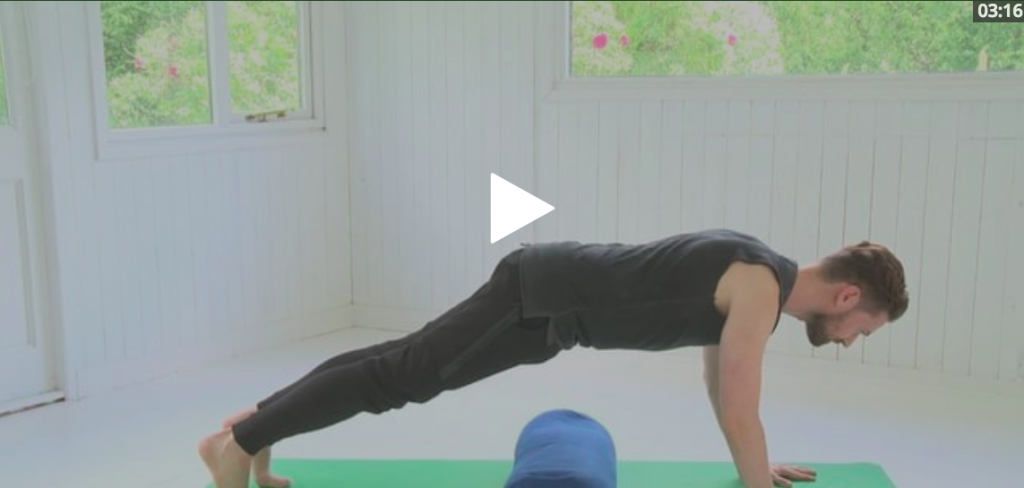
- think of moving forward not down like a plane landing. This will keep your spine nice and long
- keep your belly taught so that your core strength can support the movement
- try practising with a bolster for support (see the video below)
- don’t lower your shoulders below the level of your elbows
- draw your elbows back as you glide forward and hug them gently towards your torso
The anatomy of our rotator cuff muscles and shoulder impingement:
The Rotator Cuff muscles are a set of thin, strap-like muscles that primarily stabilise the shoulder joint and prevent it from dislocating. They also facilitate movement of the shoulder joint. Due to lack of awareness of these muscles, lack of use and poor postural habits these muscles can become weak and prone to injury.
The Infraspinatus lies below the spine of the scapula and inserts on the greater tuberosity of the humerus. It works alongside Teres minor to produce external rotation. These are the only two muscles in the body that facilitate this movement.
The Subscapularis lies beneath the scapula, inserts on the lesser tuberosity of the humeral head and is involved in internal rotation of the shoulder joint.
The Supraspinatus lies above the spine of the scapula and also inserts on the greater tuberosity of the humerus. It initiates arm abduction and is the most frequent rotator cuff muscle to become injured.
The Supraspinatus travels through the shoulder joint and its tendon can become impinged between the acromion process of the scapula and the greater tuberosity of the humerus.
During flexion of the shoulder joint, external rotation of the humerus and contraction of the triceps draws the greater tuberosity and the acromion away from each other preventing impingement. It is therefore important to couple any flexion movement, particularly when bearing weight on our shoulders, with a degree of external rotation to prevent shoulder impingement from taking place.
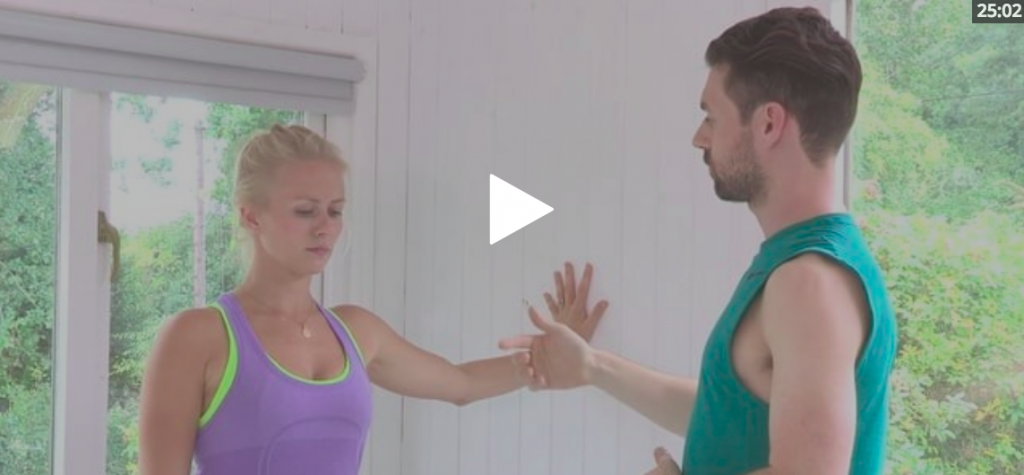
These videos that Andrew has put together are a great way to support yourself in this pose. Let us know how you get on and remember to ask our team of experts questions. We are here to share our wisdom.
<<Have a go with Andrew’s Chaturanga Tutorial>>
<<This Shoulder Stabilisation workshop is also useful to prep you>>


Leave a Reply